So todays post is all about the humble dotting tools, as with the last post this is all my own opinions and methods that I've figured out. If you don't have any dotting tools, why not? They are a couple of pounds off ebay and are easy to fix should they break like mine did. One of mine arrived broken so I simply fixed it with some blu tac, wrap it around the base of the dotter and simply push it back into the body and it will stay, et voila you can now use your once broken dotting tool :D
There are three main sizes that I use almost every time

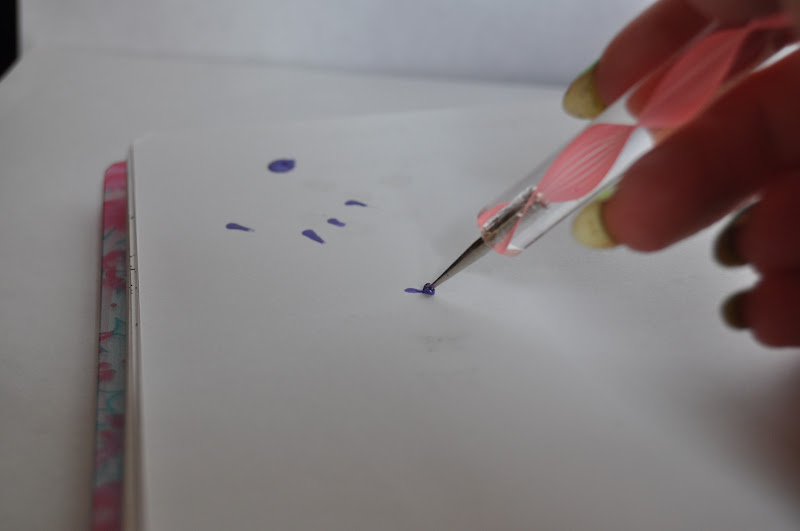
A method that I use when using dotting tools is the dip and drag method, you dip into a deep pool of polish and then put it to your nail and instead of dotting and pulling up, you dot and drag it along the nail. This can be used to fill in gaps of designs or draw lines (with the slimmest tool).
I'm going to show you 8 mini tutorials, different ways to use a dotting tool, it doesn't just make circles ;). Under each of the steps with polish I've added an illustration to make it easier to see what I've done with the polish.
First up is how to draw a moustache and panda eyes

I hope these are pretty self explanatory, I used the largest tool for the big circles, the smallest for the lines and joining up the two different sized dots, using the dip and drag method.
Next are flowers

Again I used the largest for the big circles on the first two flowers and the medium for smaller dots on the tulip shape, dragged the polish in a slight banana in between the two smaller dots. I prefer to do my flowers like the version two but it depends what look you're going for I guess :).
Leopard print and Butterflies

a-england Galahad, Kiko Melon, Nails Inc Chester Terrace, Kiko Dark Violet

Leopard print is one of the easiest designs to do with dotting tools as you literally can't go wrong, all you do it load your tool with polish and dot and drag around the splodge until you're happy but don't go all the way around.
The butterfly is something I just thought of and I kind of like it, again it's simple but looks good, you don't have to leave it plain you can decorate the butterfly however you want, you don't have to do two colours either, I did to show the different shapes.
Finally drips and hearts

On the drip design the line of polish goes at either the tip or the base of the nail. I feel the first heart needs a little explanation, it's easy but you need to be quick. Dip and then drag in a v. If the polish runs out simply dip and drag again from the bottom of the v and that should sort it out. The second version takes a bit more effort but it looks quite cute ;).
The thing to think about regarding dotting is to think of the circles as a means to an end, they don't have to be the final product, use the dots as a skeleton for other shapes and the possibilities are almost endless. It reminds me of when I was younger and I'd watch art attack and he'd use circles and sausage shapes to be the framework for his drawings and it's exactly the same principle with dotting tools. So get inventive!
I hope you find this useful and maybe it inspires you to give nail art a go! If you do try any of my methods let me know, I'd love to check them out :)


6 comments:
You know what? That's it. You've convinced me. I've been putting off making that $1 investment because "my skewer works just as well", but no. As soon as I'm done posting I'm getting on eBay and ordering myself some dotting tools. I'll be bookmarking this tutorial for ideas. ;)
That post is amazing Abbie :) Really useful, and I am thankful that you took the time to do it! I'm sure your little series will have a lot of "audience" ;)
A very comprehensive tutorial! Thanks for sharing, very useful indeed ^^
I love your little diagrams. (:
Nice! If I didn't already have my set, I'd be convinced to buy one now. I really like your diagrams!
This is such a nice tutorial! Happy to have found it as I just recently purchased a set of dotting tools!
Post a Comment
I always read and smile at all comments and I try to reply when I can! Thanks for reading :)